Build Your First REST API in Spring Boot
Introduction
Spring Boot is a powerful Java framework used by top-notch companies like Netflix. It is widely used for creating enterprise-level applications. In this guide, we will walk through the process of creating a simple REST API using Spring Boot. By the end of this guide, you will have a proper understanding of how to initialize a Spring Boot project and create Spring boot Application ranging from simple to complex. We will cover the basics of CRUD (Create, Read, Update, Delete) operations, but you can extend this foundation to build more advanced features.
Prerequisites
- Java Development Kit (JDK) 17 or later.
- Maven: For managing Dependencies and Building Project
- IDE/Text Editor: Your Preferred like IntelliJ IDEA, VScode, VIM.
- Monogdb
Initialize our project
For setting up our project we will use the Spring initializr. Go to this application and follow the following step.
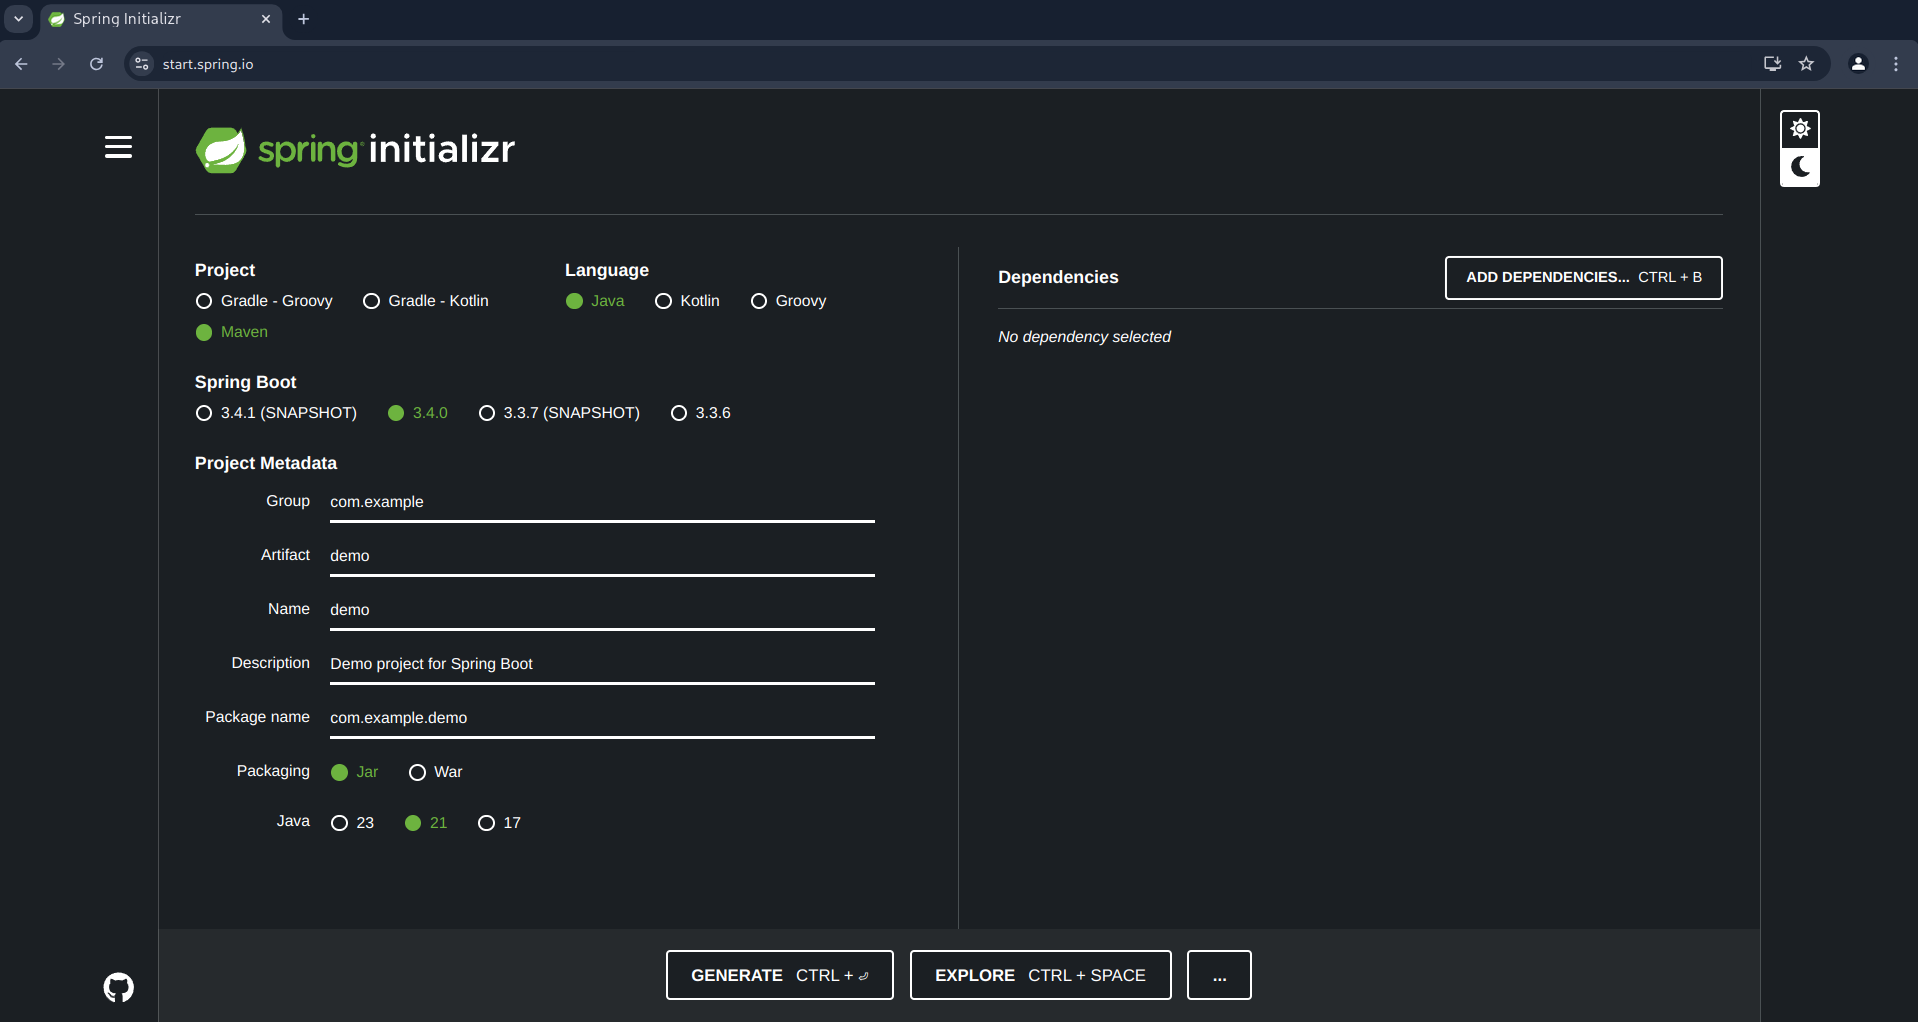
what we will be select
-
Project build Maven Maven is dependency management and project build tool. It use for project setup, managing dependencies, compiling code, running tests, and building.
-
Langauge
java -
Spring Boot
3.4.0Spring Boot version. Version 3.4.0 supports Java 17 and later includes the latest features and improvements for REST API development. -
Project Metadata
- Group:
com.exampleThis is the base package name, mainly as a reverse domain. - Artifact:
todoapiThe name for genrated JAR and maven project. - Name:
todoapiThe project name - Description:
A simple REST API for managing a to-do listA berif description of the project. - Package Name:
com.example.todoapiThe root package name in which all java file reside.
- Group:
-
packaging
jarThe type of of Build. A JAR (Java ARchive) is an executable package. -
JDK
21or select the one you have
1java --version
2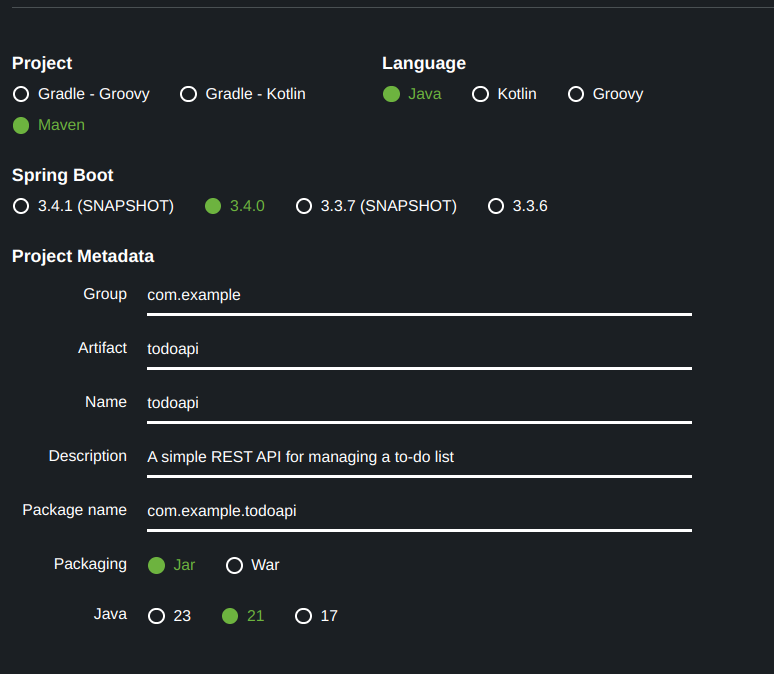
Dependencies
Spring web
Provides the necessary components to build web applications and RESTful APIs.Spring Data MongoDB
Enables the integration of MongoDB into the Spring Boot application.
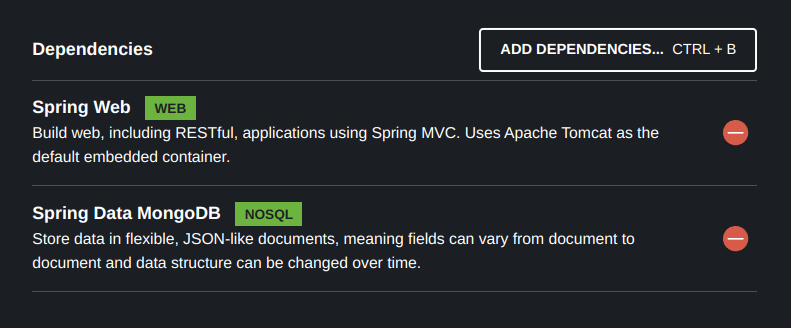
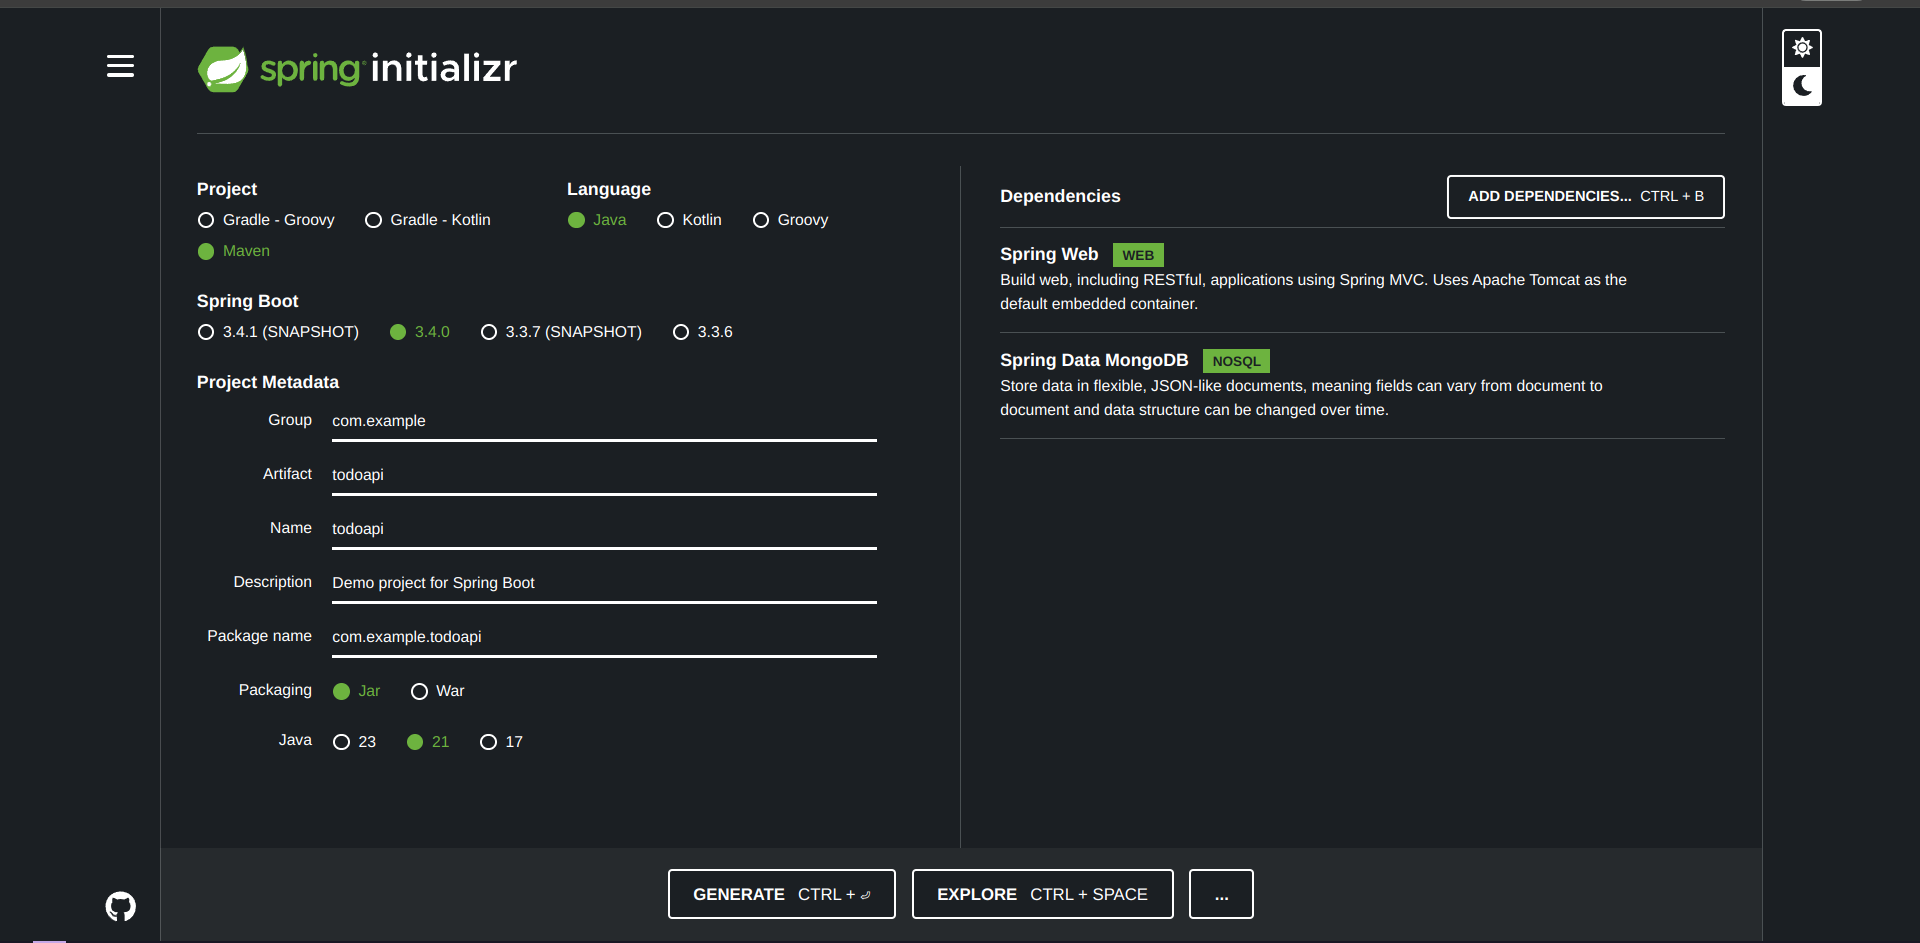
Generate the project by clicking the Generate button. Unzip the downloaded project and open it in your fav editor(NeoVim).
Step 1 Understanding the Project structure
Once you open the project in your editor, you will notice a standard Spring Boot project structure:
1├── HELP.md
2├── mvnw
3├── mvnw.cmd
4├── pom.xml
5└── src
6    └── main
7        ├── java
8        │   └── com
9        │       └── example
10        │           └── todoapi
11        │               └── TodoapiApplication.java
12        └── resources
13            ├── application.properties
14            ├── static
15            └── templates
16To organize the code, create a todo package under com.example.todoapi. This package will contain your model, repository, and controller. The updated structure will look like following.
1├── HELP.md
2├── mvnw
3├── mvnw.cmd
4├── pom.xml
5└── src
6    └── main
7        ├── java
8        │   └── com
9        │       └── example
10        │           └── todoapi
11        │               ├── todo
12        │               │   ├── TodoController.java
13        │               │   ├── TodoModel.java
14        │               │   └── TodoRepository.java
15        │               └── TodoapiApplication.java
16        └── resources
17            ├── application.properties
18            ├── static
19            └── templates
20Step 2 Connection with Database
before we start coding we have to connect our Application with the mongodb so we will use the monogdb locally if you have'nt install you can install for you system form Mongo Installation.
application.properties
write this code in your application.properties so we can connect the mongodb. Also define application name and server port.
1server.port=8080
2
3spring.application.name=todoapi
4spring.data.mongodb.uri=mongodb://localhost:27017/todoapi
5spring.data.mongodb.database=todoapi
6Step 3 Create the Model
TodoModel.java
Navigate to the TodoModel and we will create our model which can store the data of our Todo item.
@Document() this annotation use for Monogdb.
@Id this annotation use for to declare our Primary key (Unique Identifier).
1package com.example.todoapi.todo;
2
3import org.springframework.data.annotation.Id;
4import org.springframework.data.mongodb.core.mapping.Document;
5
6@Document(collection = "todos")
7public class TodoModel {
8
9  @Id
10  private String id;
11
12  private String title;
13
14  private Boolean isCompleted;
15
16  public String getId() {
17    return id;
18  }
19
20  public void setId(String id) {
21    this.id = id;
22  }
23
24  public String getTitle() {
25    return title;
26  }
27
28  public void setTitle(String title) {
29    this.title = title;
30  }
31
32  public Boolean getIsCompleted() {
33    return isCompleted;
34  }
35
36  public void setIsCompleted(Boolean isCompleted) {
37    this.isCompleted = isCompleted;
38  }
39
40}
41Step 4 Create the Repository
Extends MongoRepository for database operations like save, delete, and find. so that we don't have to write the quires for Mongodb it hlep use and manage our data manipulation easily.
TodoRepository.java
1package com.example.todoapi.todo;
2
3import org.springframework.data.mongodb.repository.MongoRepository;
4
5public interface TodoRepository extends MongoRepository<TodoModel, String> {
6
7}
8Step 5 Create the TodoController
TodoController.java
The Controller use for Handles HTTP requests (e.g. GET, POST, PUT, DELETE) and maps them to appropriate service logic.
@RestController annotation to define this class will have RESTful endpoints.
1package com.example.todoapi.todo;
2
3import java.util.List;
4import java.util.Optional;
5
6import org.springframework.http.HttpStatus;
7import org.springframework.http.ResponseEntity;
8import org.springframework.web.bind.annotation.DeleteMapping;
9import org.springframework.web.bind.annotation.GetMapping;
10import org.springframework.web.bind.annotation.PathVariable;
11import org.springframework.web.bind.annotation.PostMapping;
12import org.springframework.web.bind.annotation.PutMapping;
13import org.springframework.web.bind.annotation.RequestBody;
14import org.springframework.web.bind.annotation.RequestMapping;
15import org.springframework.web.bind.annotation.RestController;
16
17@RestController
18@RequestMapping("/todos")
19public class TodoController {
20
21  private final TodoRepository todoRepository;
22
23  public TodoController(final TodoRepository todoRepository) {
24    this.todoRepository = todoRepository;
25  }
26
27  @GetMapping
28  public ResponseEntity<List<TodoModel>> getAllTodos() {
29    List<TodoModel> todos = this.todoRepository.findAll();
30    if (todos.isEmpty()) {
31      return ResponseEntity.noContent().build();
32    }
33    return ResponseEntity.ok(todos);
34  }
35
36  @GetMapping("/{todoId}")
37  public ResponseEntity<TodoModel> getTodoById(@PathVariable String todoId) {
38    return this.todoRepository.findById(todoId)
39        .map(ResponseEntity::ok)
40        .orElse(ResponseEntity.notFound().build());
41  }
42
43  @PostMapping
44  public ResponseEntity<TodoModel> createTodo(@RequestBody TodoModel todo) {
45    TodoModel createdTodo = this.todoRepository.save(todo);
46    return ResponseEntity.status(HttpStatus.CREATED).body(createdTodo);
47  }
48
49  @PutMapping("/{todoId}")
50  public ResponseEntity<TodoModel> updateTodo(@PathVariable String todoId, @RequestBody TodoModel todo) {
51    Optional<TodoModel> todoModelOpt = this.todoRepository.findById(todoId);
52    if (todoModelOpt.isEmpty()) {
53      return ResponseEntity.notFound().build();
54    }
55
56    TodoModel todoModel = todoModelOpt.get();
57    if (todo.getTitle() != null) {
58      todoModel.setTitle(todo.getTitle());
59    }
60    if (todo.getIsCompleted() != null) {
61      todoModel.setIsCompleted(todo.getIsCompleted());
62    }
63    TodoModel updatedTodo = this.todoRepository.save(todoModel);
64    return ResponseEntity.ok(updatedTodo);
65  }
66
67  @DeleteMapping("/{todoId}")
68  public ResponseEntity<String> deleteTodo(@PathVariable String todoId) {
69    if (!this.todoRepository.existsById(todoId)) {
70      return ResponseEntity.notFound().build();
71    }
72    this.todoRepository.deleteById(todoId);
73    return ResponseEntity.ok("Todo Deleted Successfully");
74  }
75}
76Step 6 Run The Application
1./mvnw spring-boot:run
2The application will start on
1http://localhost:8080
2Step 7 Test The Application
you can use any REST Client Tool for Testing application like Postman, Bruno to test the following enpoints.
- GET
/todos: Fetch all todos. - POST
/todos: Add a new todo. - GET
/todos/{todoId}: Fetch a todo by ID. - PUT
/todos/{todoId}: Update a todo by ID. - DELETE
/todos/{todoId}: Delete a todo by ID.
Conclusion
In this Guide you learned about how to create REST API in spring boot how to connect with Database a do a simple CRUD operation. From initializing the project to connecting with MongoDB and implementing CRUD operations, now you have a foundation to build more complex applications you can extends this application or create the you own new application and can add the more complexity like authentication, authorization.
Happy Coding !!