Git and GitHub Part 2: Branches and Pull Requests Without Fear
In the first article, every commit went straight to main. That is fine for a small personal experiment. It becomes risky when a change is unfinished, needs review, or shares a repository with other people.
A branch gives a change its own lane. You can work there without changing main, then bring the finished work back with a pull request.
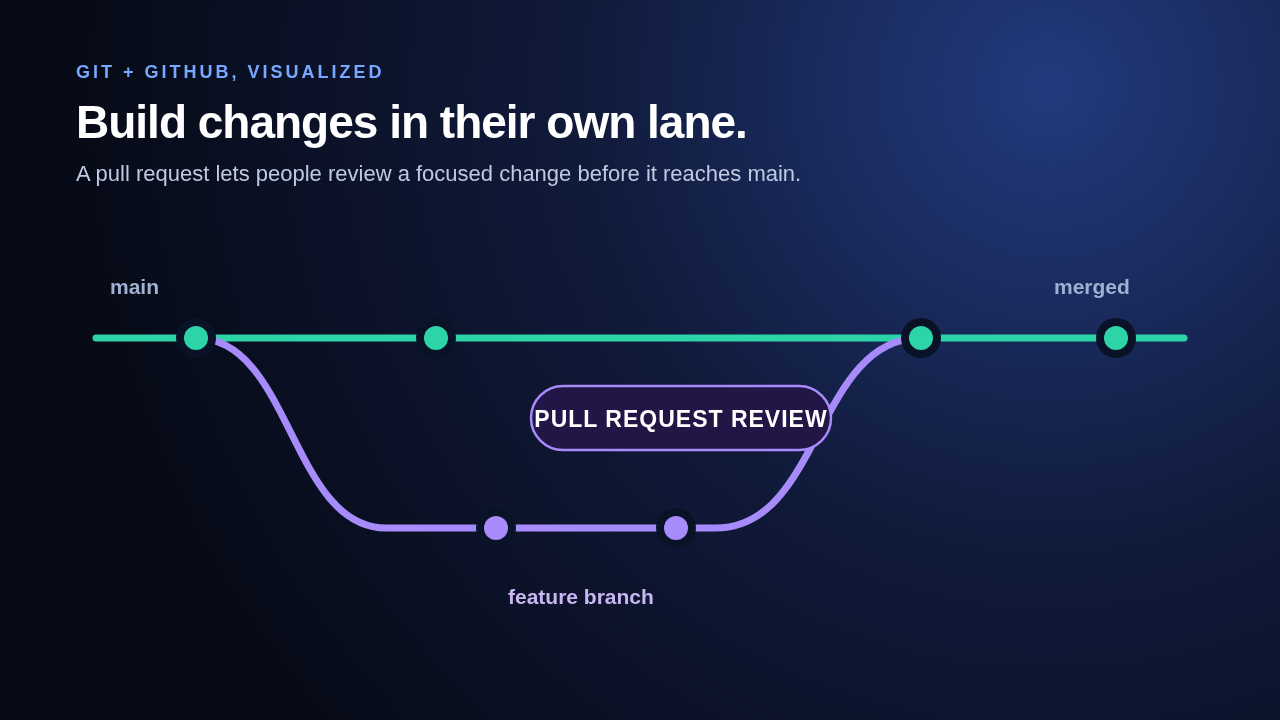
The workflow you will use
- Update your local
mainbranch. - Create a focused branch.
- Make and commit a change.
- Push the branch to GitHub.
- Open and review a pull request.
- Merge it after it is ready.
This tutorial assumes you finished the first article and have a GitHub repository with a main branch.
Start from an up-to-date main branch
Before creating a branch, move to main and bring in any remote changes:
1git switch main
2git pull --ff-only
3git switch main changes your working directory to match the main branch. git pull --ff-only fetches changes from the configured remote and updates your branch only when Git can move it forward without creating a merge commit. If it stops because branches have diverged, do not guess. Read the message and decide whether the branch needs a merge or rebase.
Check that your working directory is clean before continuing:
1git status
2Create a feature branch
Use a short, descriptive name. This branch adds an installation section, so call it add-installation-notes.
1git switch -c add-installation-notes
2The -c option creates the branch and switches to it in one command. Confirm where you are:
1git branch --show-current
2Now edit README.md, adding a small section such as:
1## Run locally
2
3Open `README.md` in your editor.
4Review and commit the change:
1git diff
2git add README.md
3git commit -m "Add local run instructions"
4The commit exists on your computer, but GitHub cannot see the new branch until you push it.
Push the branch
1git push -u origin add-installation-notes
2As in Part 1, -u sets the upstream branch. Your future pushes from this branch can be git push.
GitHub usually displays a prompt to compare the pushed branch and open a pull request. Select it. If it does not appear, open your repository, select the Pull requests tab, then choose New pull request.
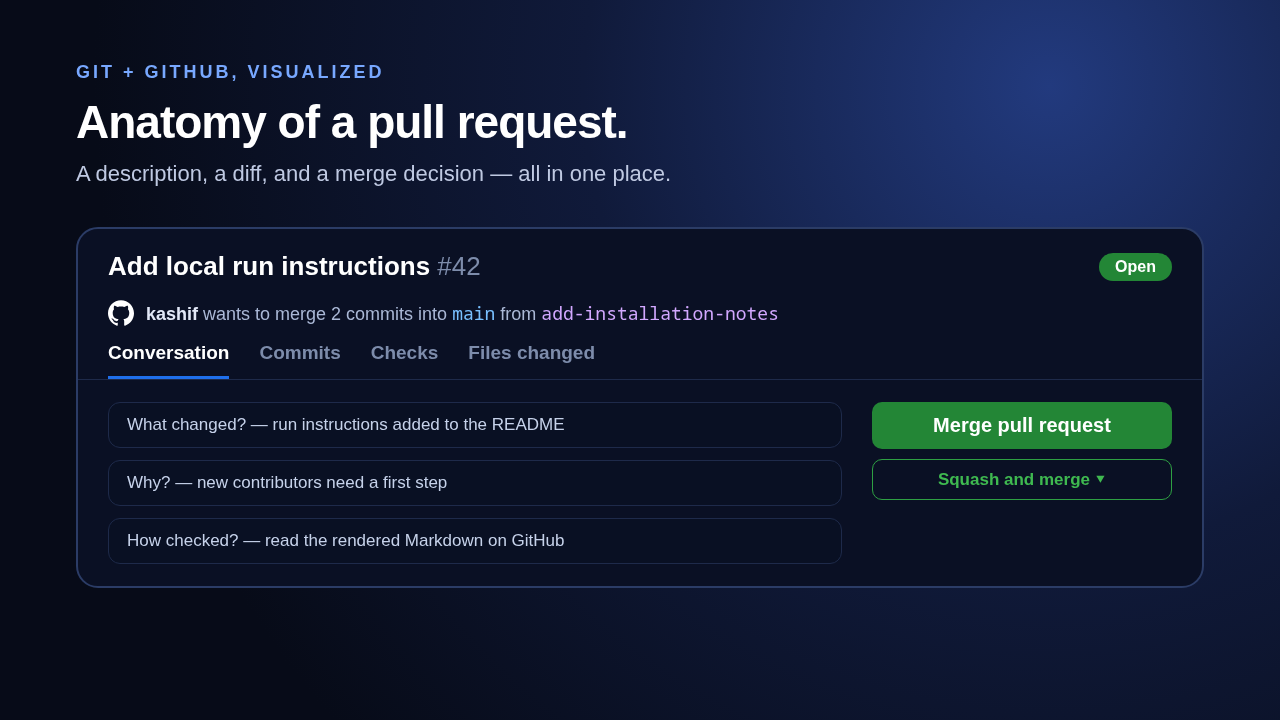
Set the pull request's base branch to main and its compare branch to add-installation-notes.
Write a pull request people can review
A useful pull request answers three questions:
- What changed? Added local run instructions to the README.
- Why? New contributors need a first step after cloning the repository.
- How did you check it? Read the rendered Markdown on GitHub.
Keep a pull request focused. A documentation change and a large refactor usually deserve separate pull requests. Small, focused changes are easier to review, test, revert, and understand later.
Review and merge
On a team, another person can review the diff and leave comments. You can also review your own pull request: read the Files changed tab as if you had not written it.
When the pull request is ready and required checks have passed, choose the merge method your repository uses. GitHub may offer merge, squash merge, or rebase merge depending on repository settings.
For a beginner project, squash and merge is often easy to read: it combines the pull request's commits into one commit on main. It does not make the original commits disappear from the branch's history, but it makes the main branch show one summary commit for that pull request.
After merging, choose Delete branch on GitHub. This deletes the remote feature branch, not the commit that was merged into main.
Clean up your local branch
Return to main, update it, then remove the local branch:
1git switch main
2git pull --ff-only
3git branch -d add-installation-notes
4The lowercase -d refuses to delete a branch whose changes are not fully merged. That safety check is helpful. Use uppercase -D only when you deliberately want to discard the branch.
When to use a branch
Create a branch for changes that benefit from isolation or review:
- A new feature.
- A bug fix.
- A documentation update.
- An experiment you may decide not to keep.
Avoid one branch for unrelated work. If a branch is called fix-login-error, it should not also rename every file in the project.
A note about pull requests
A pull request does not magically copy files. It is a request to merge the commits from one branch into another. GitHub adds discussion, review, checks, and merge controls around the Git branch comparison.
What you learned
You created an isolated branch, published it, used a pull request to review it, merged it into main, and cleaned up both branch copies. Next, you will learn to update a branch, resolve a real conflict, and choose between merging and rebasing.